- Post Box
- Posts
- Editors, Get Yourself Organised...
Editors, Get Yourself Organised...
Sam Woodhall
February 06, 2024 • Reading Time: 7 minutes
Reading time: 7 minutes
Today, I’m getting you organised.
Well, as organised as I can from words on an email. Today we’re going to be looking at ways to optimise your editing workflows to make you even faster.
But why would editors want to be faster at what they do? Well, there’s a few reasons why. First, it means you can be more efficient with your time. Spending less time doing meaningless tasks, and more time doing what you love.
Secondly, time is money. If you’re faster at doing your job, you effectively double or even triple your rate. For example, going from $25 to $50 an hour could be as simple as doing all of your prep work in 30 mins vs one hour.


Now unfortunately a lot of editors don’t do this because it takes a lot of prep work to setup, and honestly if you’re like me sometimes, you can feel a little lazy and just want to jump into stuff.
But with just a little bit of time, you can set up a workflow to optimise your process and potentially double your editing output.
Here's how:
Systemising Your Projects
Having a system for your projects is incredibly important. It’s a crucial part to any editor’s work.
The main reason is because you’re dealing with a ton of video, audio, images and graphics every single day. Having a system to organise all that is essential.
Let me show you how I organise my projects, specifically for YouTube videos.
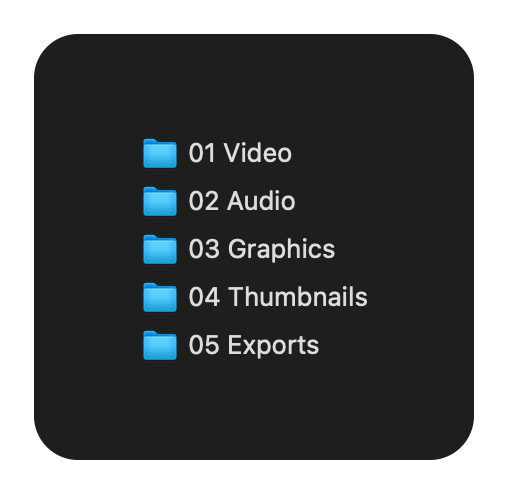 | I break down my assets into specific folders. Depending on the project, I may have additional, or completely different folder structures. These folders are:
|
Inside of those folders, I have additional folders, further breaking down my assets. In video, I have areas for interviews, screen recordings, stock video, and the media managed by Final Cut Pro, my software of choice. I have folders for audio such as music, SFX and voice over, along with Prod. Sound (Production Sound), which is audio recorded on set. |  |
I also have project, motion graphics and thumbnail templates inside of all of these that I can use, ready to go without needing to make them every single time.
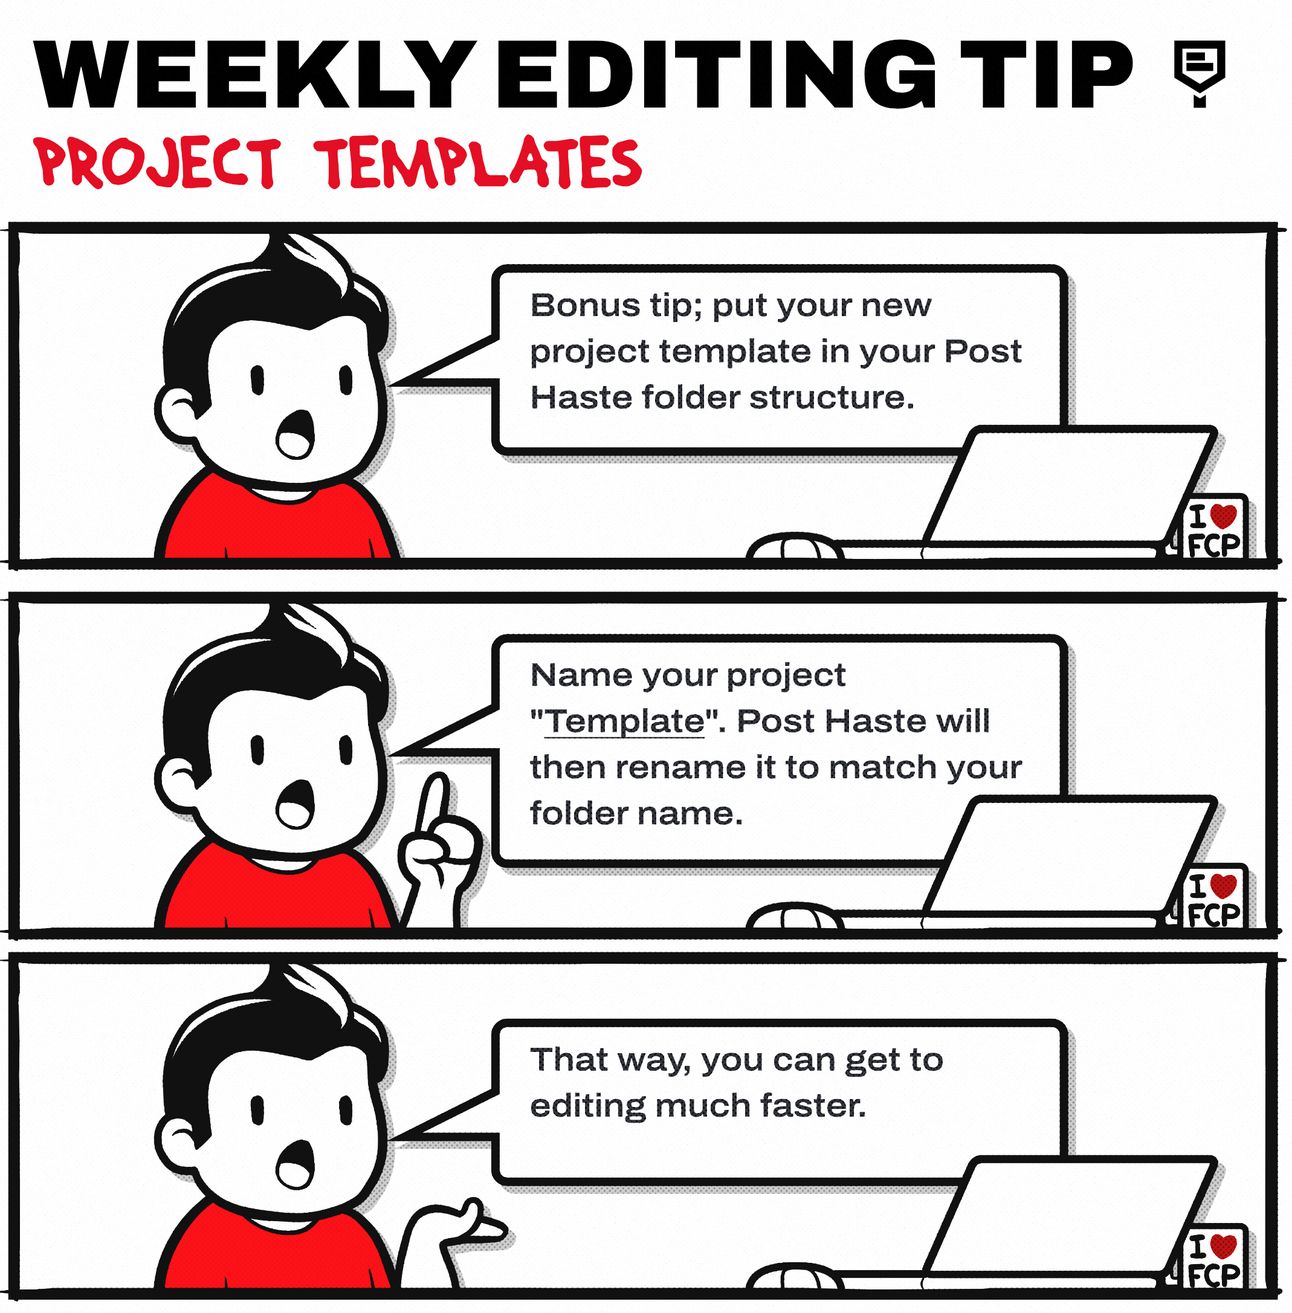
The software I’m using is Post Haste, it’s free, and I recommend every editor pick it up, learn how to use it effectively, and start using it in their editing workflows.
Set Up Project Templates
Next, we’re going to speed up the process of you getting into the editing action faster.
We’re going to do 3 simple things.
You’re done. | 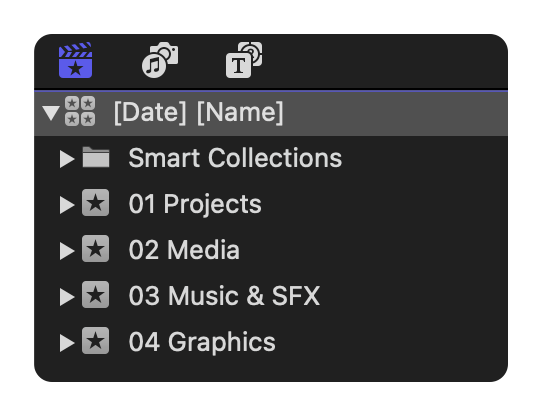 |
This is quite possibly the fastest thing any editor can do to optimise their workflow. It saves you so much time when it comes to making videos that it really should be a priority.
But it doesn’t stop there.
Open up an old project you’ve previously edited. Grab any and all effects, animations or graphics that you use repeatedly and save them as presets.
Save all of the scale effects, movements, punch ins and closeups. Make a copy of all the graphics or sound effects you use for every projects and save them to the template too.
When you do that, you’re now spending less time hunting for those assets, because they’re embedded in your project template.
Ditch The Mouse
It’s going to be weird to say, but focus on using the mouse less when you’re editing.
Moving the mouse around to click on tools takes maybe a few seconds to do, but over time those seconds build up and end up costing you a lot of time in the long run.
Start learning keyboard shortcuts. Every editing tool has them, and learning each one of them makes you faster. Here are a couple of my favourites I use all the time. Please note these are for Final Cut Pro.
Trim Tool [T]; this tool allows me to ripple edit the content on the timeline. Clicking in the middle of the clip lets me roll the edit point. Allowing me to make
It also allows me to roll the contents of the clip to refine the cut.Alt + E / Cmd + Alt + E; These two shortcuts allow me to apply a Default Video and Default Audio Effect respectfully. These are super powerful because they allow me to apply the colour correction I use in every video, and my audio treatment effects within two seconds.
Each of these presets have multiple effects, and it saves me so much time applying these for every project.Ctrl + T / Ctrl + Shift + T; I have my adjustment layer and my default title assigned to these two shortcuts. It allows me to apply an adjustment layer to a clip within a second, and also quickly add my most used title preset to my project.
Here’s a list of all the keyboard shortcuts for all the editing apps.
Customise your templates, workflows and shortcuts to match your style of editing. Being organised is a crucial part of this role, so find ways to optimise what you do to be more efficient.
I hope you enjoyed this week’s newsletter! If you have any suggestions, thoughts or ideas for topics you want to see next, then feel free to reply to this email. I’ll do my best to cover things that need the most attention.
Until next time, happy editing!
Sam 👋🏻
Reply